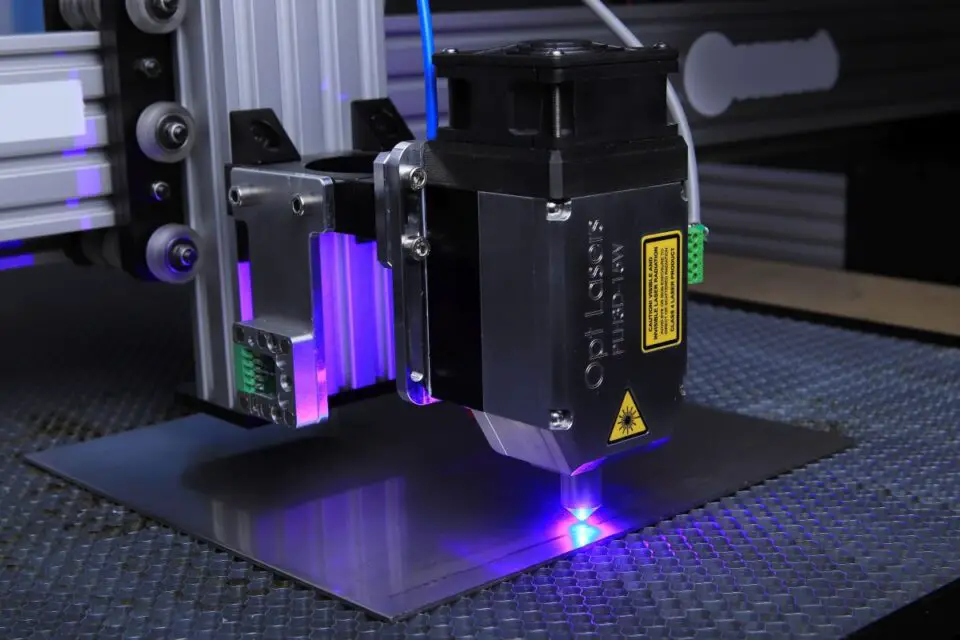
A laser cutter doesn’t care how good a design looks on screen. It only cares whether the file handed to it is a real DXF file, built from clean vector lines, or something that just looks like one.
Many laser-cut files start life as a JPEG or a screenshot, and that single choice usually determines whether the cut comes out crisp or jagged.
That distinction matters just as much for engraving as for cutting through a material, since both depend on the machine following an exact path rather than approximating it.
Why a laser engraving business can’t run on blurry files
A side hustle built around this kind of work runs on repeat customers and word of mouth, and both depend on the finished product looking as clean as the photo that sold it.
Margins in this space are real: a mason jar that costs under $2 to source can sell for $17 once engraved, and most sellers aim for a 30-50% profit on each piece. That math falls apart fast once a batch has to be redone because the file didn’t cut cleanly.
Marketing is supposedly 80% of running this kind of business, but that only works if the other 20%, the actual product, holds up to a close-up photo and a customer’s hands.
Etsy is often the easiest place to start selling, along with craft fairs and direct outreach to local businesses, and in each channel, a photo of the finished piece does most of the selling.
Raster image or real vector? The difference shows up at the cutter
A raster image is a grid of colored pixels, much like a digital photo. Scale it up, and the edges get blocky; trace it roughly, and a laser cutter follows every one of those blocky steps exactly as drawn.
A vector file describes the same shape with mathematical lines and curves, so it stays precise at any size and gives a laser cutter a clean path to follow, not a rough outline to guess at.
Before converting anything, a few minutes of cleanup usually saves a wasted cut:
- Convert the source image to pure black and white first, using a threshold tool, not grayscale.
- Remove specks and holes that would otherwise turn into tiny, unwanted cuts.
- Choose an outline-based tracing setting rather than a generic one.
- Set the exact physical dimensions before sending anything to the cutter.
Skipping this step doesn’t just risk a bad cut; it usually means redoing the whole design once the mistake shows up on the material.
Getting from PDF to DXF without losing precision
Not every design starts as a raster image, though. Plenty of laser-ready artwork already exists as a PDF, exported from design software that originally drew it as vectors.
OnlyDoc‘s free PDF to DXF converter extracts that vector data directly, turning lines, arcs, and curves back into a clean, editable drawing without any manual retracing.
That matters most for anyone converting a batch of designs, since manually retracing each one defeats the point of starting with a vector PDF.
Standard technical drawings, architectural plans, and engineering schematics tend to convert especially well this way, since they were built as precise vector geometry from the start.
Keeping laser engraving files consistent across a product line
Selling more than one version of a design, a small and a large coaster, say, works better when every size traces back to the same clean vector file instead of a separate rough one for each size.
One limitation worth knowing: a converter reads what’s actually in the file, so a PDF that started as a scanned photo still won’t produce a perfectly clean result, just as tracing a blurry photo by hand wouldn’t. Starting from a vector-based PDF, wherever possible, gets the best outcome.
Software choices matter here too. A free option like LaserGRBL covers the basics, while a paid tool like LightBurn offers more control for anyone running multiple machines or handling a higher volume of orders.
Conclusion
The file format decision happens long before anything reaches the laser, and it’s the one most side-hustle sellers never think about until a cut comes out wrong. Starting with an actual vector file, or properly converting a vector PDF instead of tracing a photo, separates a clean edge from a jagged one. Fixing it doesn’t require new equipment, just a different starting file the next time a design gets sent to the cutter.